This entry documents the second of my projects for this summer’s ITP 4-in-4. 4-in-4s are occasional events entailing the execution of one complete project each day for four consecutive days. They’re a great opportunity to finally do a daydream project you’ve been talking about for ages or to play with a new technology or technique you’d be meaning to try out.
For my second project, I wanted to carve something out of blue foam. I think blue foam carving is going to be a major ingredient in the work that I do at ITP this year and, while I know we’ll be working with it in Materials and Building Strategies this coming semester, I wanted to get ahead start in familiarizing myself with it.
For a subject matter, I chose an Atari 2600 cartridge. To understand why checkout the 3D model of an Atari cartridge I built for last winter’s 4-in-4. That post explains the backstory behind my interest in the cartridges and the eventual thing I want to build with them. In the meantime, suffice it to say that making to-scale models of Atari cartridges has become something of a ‘hello world’ for me in new fab techniques.
I started out by putting out a call on twitter for the correct dimensions of an Atari cartridge. Unsurprisingly, Don Miller wrote back almost immediately with the answer. He had one to hand and simply measured.

Once I had the dimensions, I measure them out and drew them onto my piece of blue foam with sharpie.

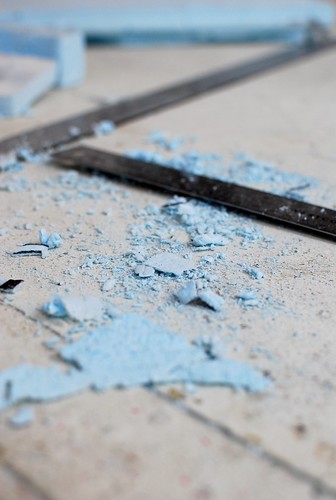
I then used a small handsaw to cut the basic rectangle loose from the large sheet of foam. The resulting rectangle was the right basic size as the cartridge but had an extremely rough surface texture and was lacking the rounded corners and the other few design details of a real cartridge.
With a metal file, I set out to smooth the rectangle’s surface and to add the rounded corners on its side.
You can see from that picture that the far side of the cartridge got a little off square in the process. I also had a relatively hard time getting a nice smooth surface on the foam. As I’d file thing would sometimes get smooth, but when I applied to much pressure, the foam would seem to come apart a little in all directions, leaving a rough, ugly surface.
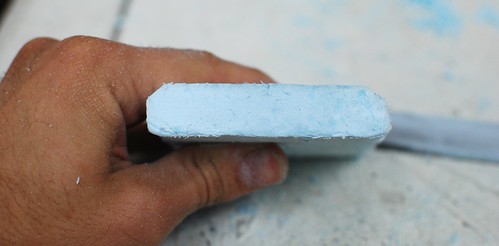
I was, however, able to shape a nice bevel that really reminded me of the real cartridges.
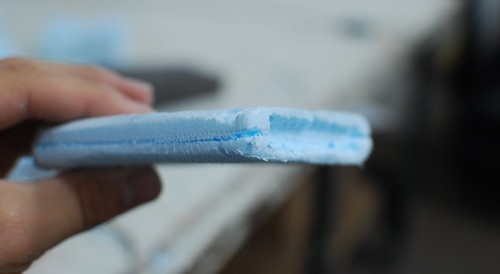
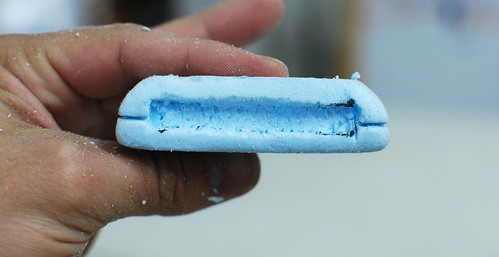
I then set out to carve out the slight cutaway on the front of the cartridge in which (in a real cartridge) a sticker with the game art sits.
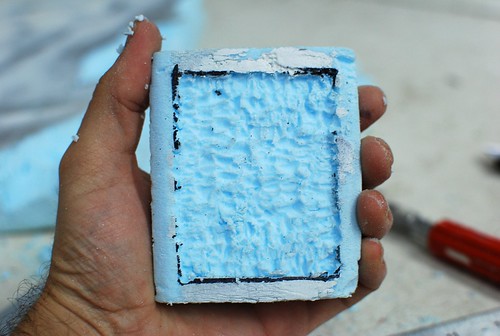
Here you can see the texture of the carved away area before sanding.
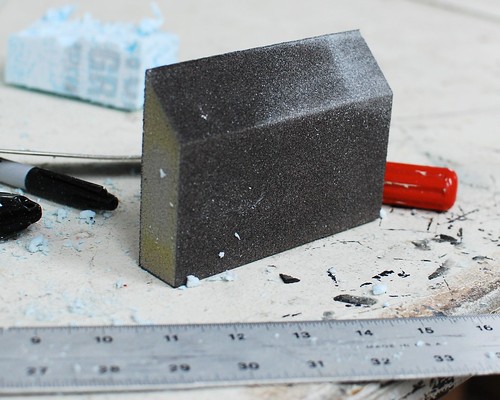
At first I couldn’t figure out how to sand down into a cutout like that since the files I’d been using for the rest of the process wouldn’t reach. Hunting around, I found what became the perfect tool for blue foam work: a sandpaper-covered wedge of squishy foam:
Using this tool, I was able to get down into the sticker cutaway and sand it relatively smooth.
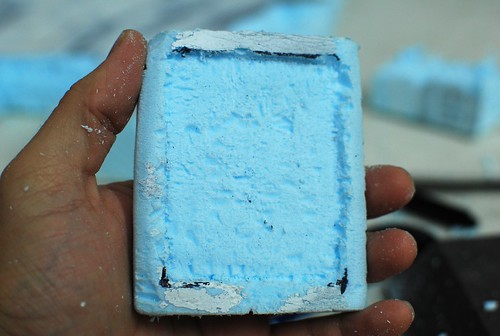
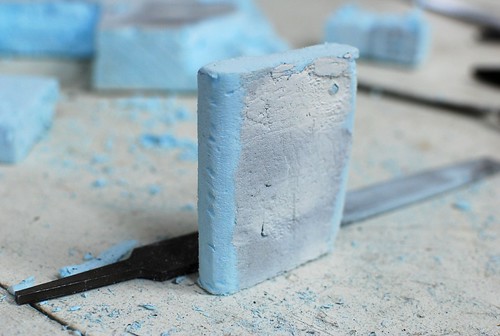
At this point I added the cutaways on the top and bottom of the cartridge (at the top for another sticker, at the bottom to expose the actual circuit board that interfaced with the console itself) and struggled to sand them.
Finally, I used the hand saw to carve a seam that runs all the way around the cartridge, which, in the original, is produced by it being constructed of two separate pieces of plastic that join imperfectly.
This first attempt at a cartridge was ok, but had some major flaws. The shape was slightly irregular and the surfaces were rough, the cutouts especially so.
I did some googling and read some online advice about working with blue foam (something I’d resisted doing before starting, wanting to get a clean experience of the material’s behavior). I immediately discovered that I was on the right track with the sandpaper foam: lots of sanding was recommended for getting smooth surfaces. Further, sanding slowly, with low pressure, and in only one direction was recommended for preventing the foam’s surface from breaking up like I experienced. And, finally, pre-starting cuts with a sharp knife was recommended as a way of keeping them from getting ragged.
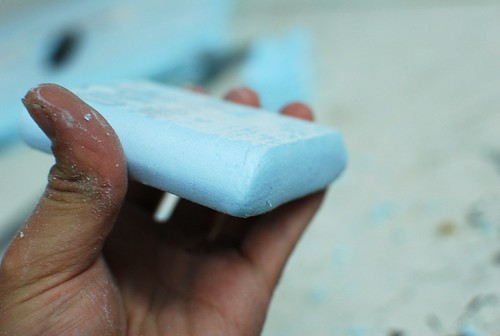
So, keeping all of this advice in mind, I set out to make a second cartridge. After a few false starts getting the basic proportions correct when cutting the raw rectangle out of the block of foam, my second cartridge came out much better than my first.
Smoother bevel and finish all around:
Tighter cut for neater corners in the inlays (both cut with an exacto):
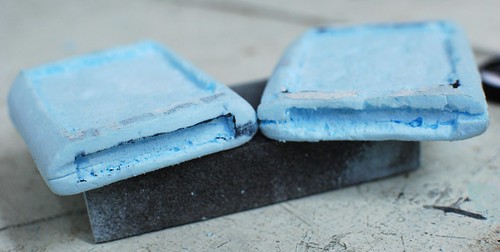
Comparing the two side-by-side you can really see the improvement in control and surface on the second piece:

Obviously I still have a long way to go in improving my blue foam carving, but today was a satisfying start.
Two thoughts to end with. First, out of all the tools I had available…

…the simple hand saw was best for cutting basic shapes (though if I’d gone so far as to use power tools for that, they might have proved far superior — and a lot of online resources recommend hot knives or wire for that stage in the process), the exacto for starting detailing, and the sanding block for finishing and shaping.
And, this may be obvious, but: blue foam gets everywhere! It’s messy and clingy and, apparently, even not the greatest thing to breathe. Regardless, I plan to become much more intimately familiar with it in the coming months. So, my future is likely to look a lot like this: